Instagram Reels Compression Guide — Optimal Settings for 2026
You spend hours crafting the perfect Reel — nailing the edit, syncing the music, color grading every frame — and then Instagram turns it into a muddy, artifact-riddled mess. If this sounds familiar, you are not alone. Instagram aggressively re-encodes every video uploaded to its platform, and if your source file is not optimized beforehand, the double compression destroys visible quality. This guide covers everything you need to know about Instagram Reels compression in 2026: the platform's technical specs, why pre-compression matters, and exactly which settings produce the crispest results.
Instagram Reels Technical Specs in 2026
Before diving into compression strategy, you need to know what Instagram actually accepts and displays. Here are the current specifications for Reels:
| Specification | Reels Requirement |
|---|---|
| Aspect Ratio | 9:16 (vertical) |
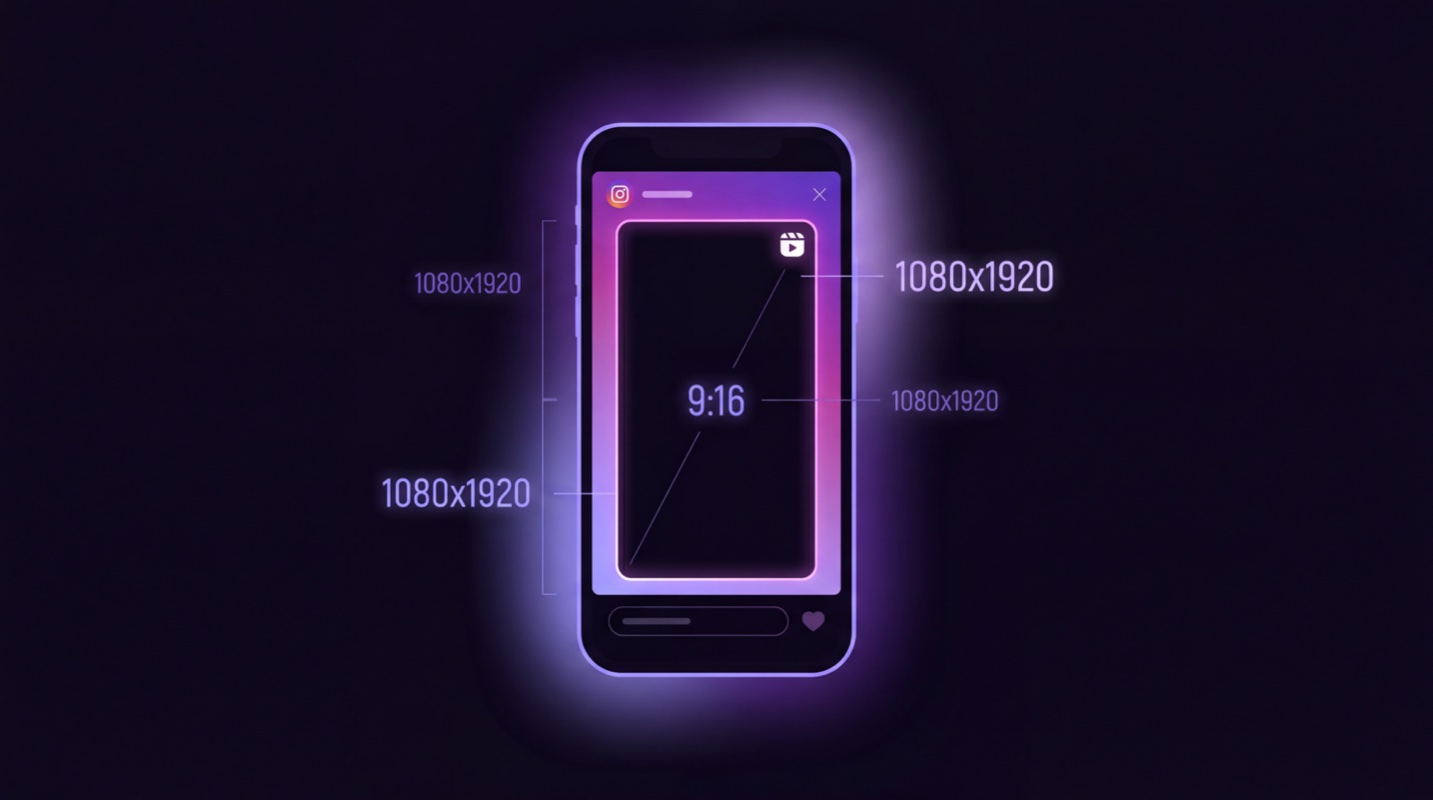
| Resolution | 1080 × 1920 pixels |
| Maximum Duration | Up to 15 minutes |
| Maximum File Size | 4 GB |
| Recommended Codec | H.264 (MP4 container) |
| Audio Codec | AAC at 128 kbps or higher |
| Frame Rate | 30 fps (24–30 fps accepted) |
Instagram technically accepts files up to 4 GB and resolutions higher than 1080 × 1920, but uploading a massive file does not improve your output quality. Instagram will re-encode everything to its own internal specifications regardless of what you upload. The goal is to give Instagram the best possible source material in a format that survives re-encoding with minimal degradation.
Why Pre-Compression Matters
Every video uploaded to Instagram goes through the platform's transcoding pipeline. Instagram re-encodes your video to optimize for streaming on mobile devices, which means your original file is decoded and then re-encoded with Instagram's own compression settings. This is a lossy process — quality is always lost during re-encoding.
If you upload a video that has already been heavily compressed (low bitrate, lots of existing artifacts), Instagram's re-encoding amplifies those flaws. Compression artifacts from the first pass get baked in and then new artifacts are added on top. The result is a blocky, blurry Reel that looks nothing like your original edit.
Conversely, if you upload a clean, high-bitrate source file at the correct resolution, Instagram's re-encoding has pristine source material to work with. The output quality is dramatically better. Pre-compression is about finding the sweet spot: a file that is high enough quality to survive re-encoding but not wastefully large.
Optimal Codec, Bitrate, and Frame Rate
Based on extensive testing and Instagram's own encoding behavior, here are the optimal export settings for Reels in 2026:
| Setting | Optimal Value | Why |
|---|---|---|
| Video Codec | H.264 | Instagram's pipeline is optimized for H.264. Using H.265 or AV1 forces a decode-then-reencode step that can introduce extra artifacts. |
| Container | MP4 | Universally supported. Avoids format conversion on upload. |
| Video Bitrate | 3–6 Mbps | Provides a clean source without being wastefully large. Instagram's output bitrate for Reels is typically 2–4 Mbps, so feeding it 3–6 Mbps gives headroom. |
| Frame Rate | 30 fps | Instagram displays Reels at 30 fps. Uploading at 60 fps wastes data and forces Instagram to drop frames. |
| Audio Codec | AAC | Standard audio codec for Instagram. Widely compatible. |
| Audio Bitrate | 128–256 kbps | 128 kbps is the minimum for clear audio. 256 kbps is ideal for music-heavy Reels. |
| Resolution | 1080 × 1920 | Exact native resolution. No upscaling or downscaling needed. |
Try it now: Compress your video for free with SquishVideo — no signup, no watermark.
Stories vs. Reels vs. Feed Video Specs
Instagram supports video in three primary placements, each with slightly different specifications. Understanding the differences helps you export correctly for each format:
| Specification | Stories | Reels | Feed Video |
|---|---|---|---|
| Aspect Ratio | 9:16 | 9:16 | 1:1, 4:5, or 16:9 |
| Resolution | 1080×1920 | 1080×1920 | 1080×1080, 1080×1350, or 1920×1080 |
| Max Duration | 60 seconds | 15 minutes | 60 minutes |
| Max File Size | 4 GB | 4 GB | 4 GB |
| Best Bitrate | 3–5 Mbps | 3–6 Mbps | 3–6 Mbps |
Stories are the most aggressively compressed by Instagram because they are designed for quick, ephemeral viewing. Reels receive slightly better encoding because they live permanently on your profile and are distributed through the Explore and Reels tabs. Feed videos generally get the best encoding quality, especially for longer content.
How Instagram's Algorithm Affects Video Quality
There is a relationship between engagement and video quality that many creators overlook. Instagram allocates encoding resources based on a video's predicted and actual performance. When a Reel starts gaining traction — receiving likes, shares, saves, and extended watch time — Instagram may serve higher-quality encodes to subsequent viewers.
Conversely, videos that receive minimal engagement may be served at lower quality tiers to save bandwidth. This means that the initial quality of your upload matters even more: the first wave of viewers sees the initial encode, and if quality is poor, they are less likely to engage, creating a negative feedback loop.
By uploading an optimally compressed source file, you give your Reel the best possible first impression. Higher initial quality leads to better engagement, which can trigger Instagram to serve better encodes to wider audiences.
Tips for Maintaining Quality Through Instagram's Processing
Beyond the technical settings, several practical strategies help your Reels survive Instagram's compression pipeline:
1. Avoid Text on Busy Backgrounds
Video compression algorithms struggle with fine detail against complex backgrounds. If you overlay text on footage with lots of movement or texture, the text will blur after re-encoding. Place text on solid or simple gradient backgrounds whenever possible, or use Instagram's native text tools, which are rendered on the viewer's device and bypass video compression entirely.
2. Reduce Rapid Scene Changes
Every hard cut forces the encoder to create a new keyframe, which consumes more of the bitrate budget. If your Reel has dozens of rapid cuts in the first few seconds, each transition gets less data, and individual frames look worse. Consider slightly longer shots and smooth transitions where quality matters most.
3. Mind Your Color Grading
Heavy color grading — especially extreme contrast adjustments, deep shadows, and highly saturated colors — can introduce banding and noise that compression amplifies. Grade with moderation and apply subtle noise reduction before export. If your editing software supports it, export in a higher color bit depth (10-bit) to minimize banding, though note that Instagram will convert to 8-bit internally.
4. Upload During Off-Peak Hours
While not officially confirmed by Instagram, many creators report that videos uploaded during lower-traffic periods receive slightly better initial encoding. The theory is that Instagram's transcoding servers have more capacity during off-peak hours, potentially allocating more processing time per video. Whether or not this is true, it costs nothing to try.
5. Upload from the Phone App, Not Desktop
Instagram's mobile app has the most mature and optimized upload pipeline. Uploading via the desktop website or third-party scheduling tools sometimes triggers different encoding paths that can produce slightly lower quality. For your most important Reels, transfer the optimized file to your phone and upload through the official Instagram app.
Best Practices for Reels That Look Crisp
Pulling everything together, here is a checklist for producing the sharpest possible Instagram Reels:
- Shoot or export at exactly 1080×1920. Do not upload 4K and expect Instagram to handle the downscale gracefully.
- Use 30 fps. Higher frame rates waste bandwidth and get dropped by Instagram anyway.
- Export as H.264 MP4 at 4–5 Mbps. This is the encoding sweet spot for Instagram's pipeline.
- Keep audio at AAC 128 kbps minimum. Poor audio quality is immediately noticeable and hurts engagement.
- Minimize on-screen text over busy footage. Use solid backgrounds or native Instagram text overlays.
- Apply gentle noise reduction before export. Less grain means less data wasted on encoding noise.
- Avoid extreme color grading. Subtle adjustments compress better than dramatic looks.
- Upload via the mobile app. The most reliable path to good encoding quality.
How SquishVideo Optimizes for Instagram Automatically
Manually configuring codec, bitrate, resolution, frame rate, and audio settings for every Reel is tedious. SquishVideo eliminates that friction entirely.
When you select the Instagram preset in SquishVideo, the tool automatically applies all of the optimal settings described in this guide. It resizes your video to exactly 1080×1920 if needed, sets the bitrate to the ideal range, converts to H.264 MP4, and ensures the frame rate is 30 fps. All of this happens locally in your browser — your video is never uploaded to a server, so your content stays private and secure.
SquishVideo is especially useful when you are repurposing content from other platforms. If you have a YouTube video in 16:9 landscape format, SquishVideo can compress and reframe it for Instagram's 9:16 vertical format. If you have a high-bitrate master file from your editing software, SquishVideo brings it down to the optimal bitrate range without you needing to know any technical details.
The entire process takes seconds. Drop your video in, select Instagram, and download a Reel-ready file. No account, no watermarks, no cost.
Ready to optimize your Reels?
SquishVideo automatically applies the perfect settings for Instagram Reels. Drop your video, pick Instagram, and download a crisp, perfectly compressed file. Free, private, no sign-up needed.
Compress for Instagram